> For the complete documentation index, see [llms.txt](https://docs.gercstudio.com/llms.txt). Markdown versions of documentation pages are available by appending `.md` to page URLs; this page is available as [Markdown](https://docs.gercstudio.com/other-components/save-manager.md).
# Save Manager
{% hint style="info" %}
There are 2 demo scenes in the project ***(Universal Shooter Kit -> Demos -> Scenes -> SinglePlayer -> Save System -> Save System (Scene 1) / (Scene 2))***
Open and run one of them to test the Save System.
{% endhint %}
### Adding to the game
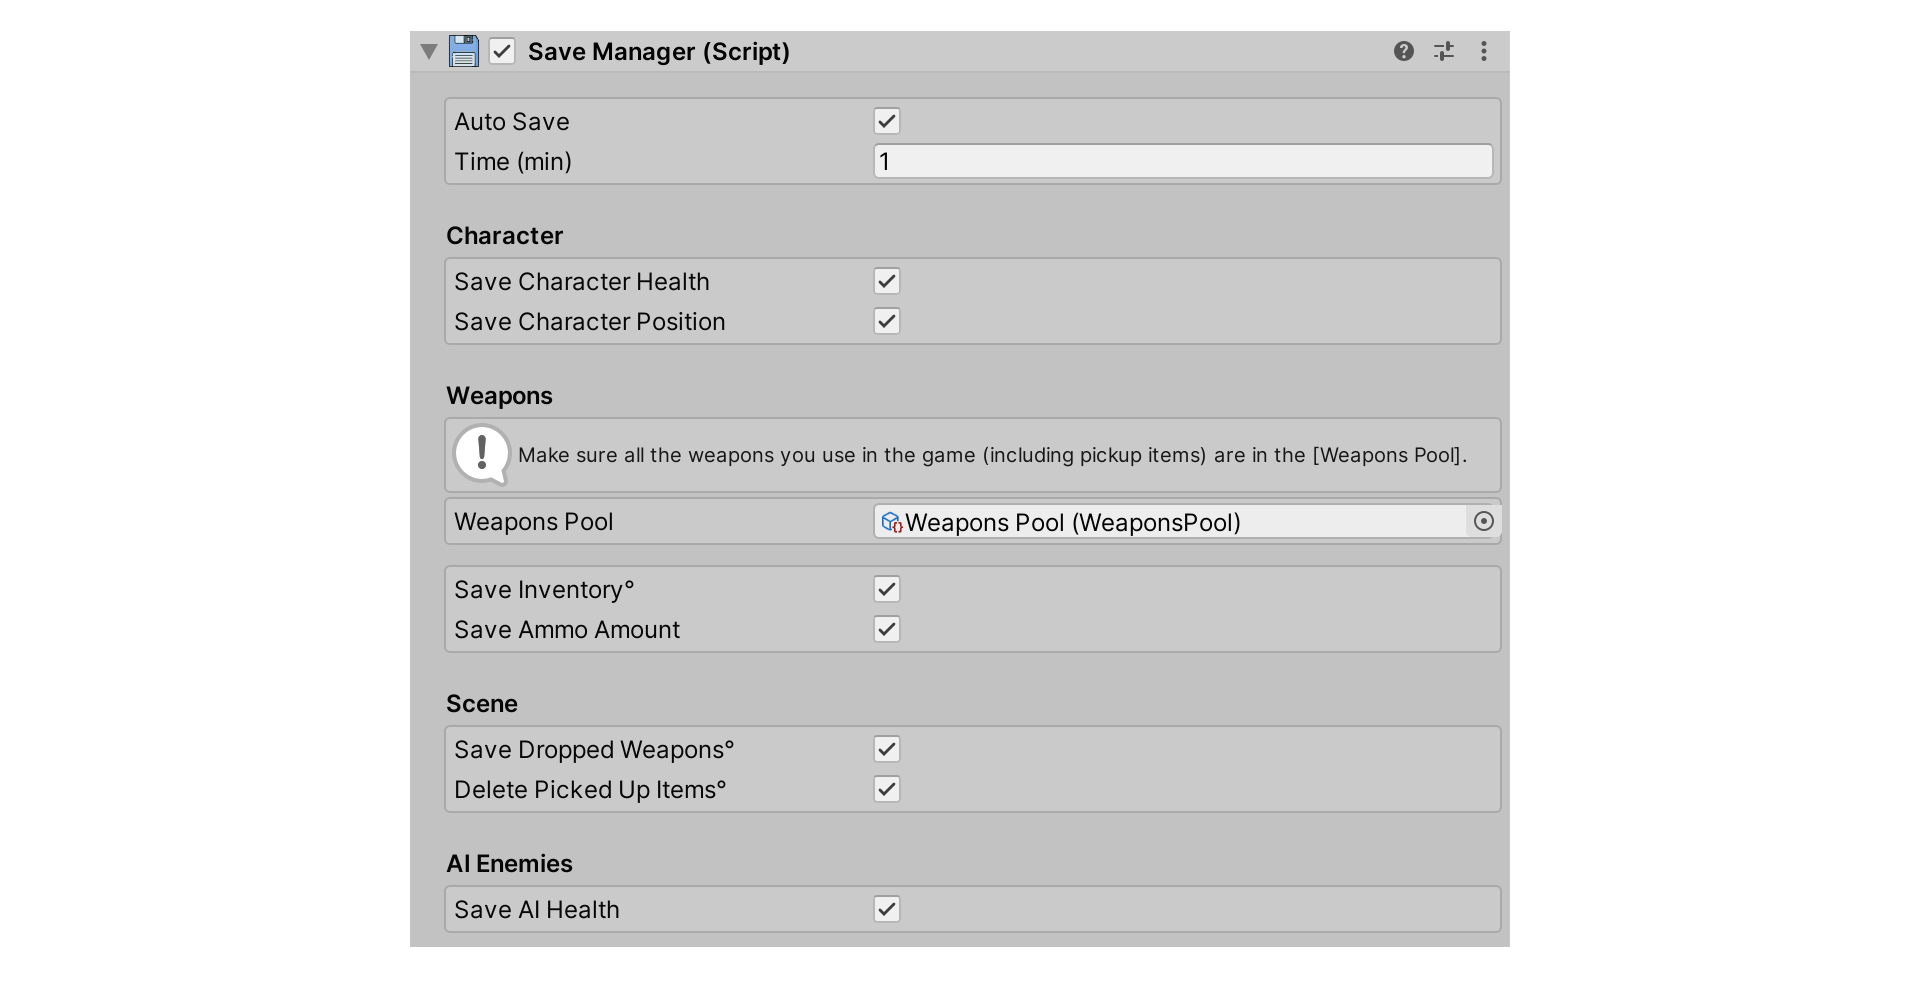
To create a save system in your game, add a **SaveManager** script to any object in your scene.
In this script you can choose which parameters will be saved, as well as enable autosave mode.
{% hint style="info" %}
If you're going to save your character's inventory, make sure all the weapons you use are in the special pool ***(Tools -> USK -> Project Settings -> Weapons Pool)***.
If your game has weapons that can be picked up, they should be added to the pool as well. Or add weapon prefabs to your scene and **don't unpack them**.
{% endhint %}
### How it works
* **(Load)** Every time you load a scene with the **SaveManager** component in it, all saved progress is loaded and applied (depending on which parameters you have activated).
* **(Save)** To save your progress, you need to call the save function (anywhere and at any time):
```
SaveManager.Instance.SaveData();
```
* **(Clear)** To clear all progress, call the following function:
```
SaveManager.Instance.DeleteAllSavedData();
```
{% hint style="info" %}
In the manager 2 classes are saved separately: the first class - **"Character Data"**, the second - **"Scene Data"**.
**Character Data** is saved in a single copy (contains character health and inventory values)
**Scene Data** is saved for each scene separately (contains the position of the character, dropped/picked up items, and AI parameters) and refers to scenes by their names **(please note: when you rename a scene, the linked save won't be loaded)**
{% endhint %}
### Custom Save Data
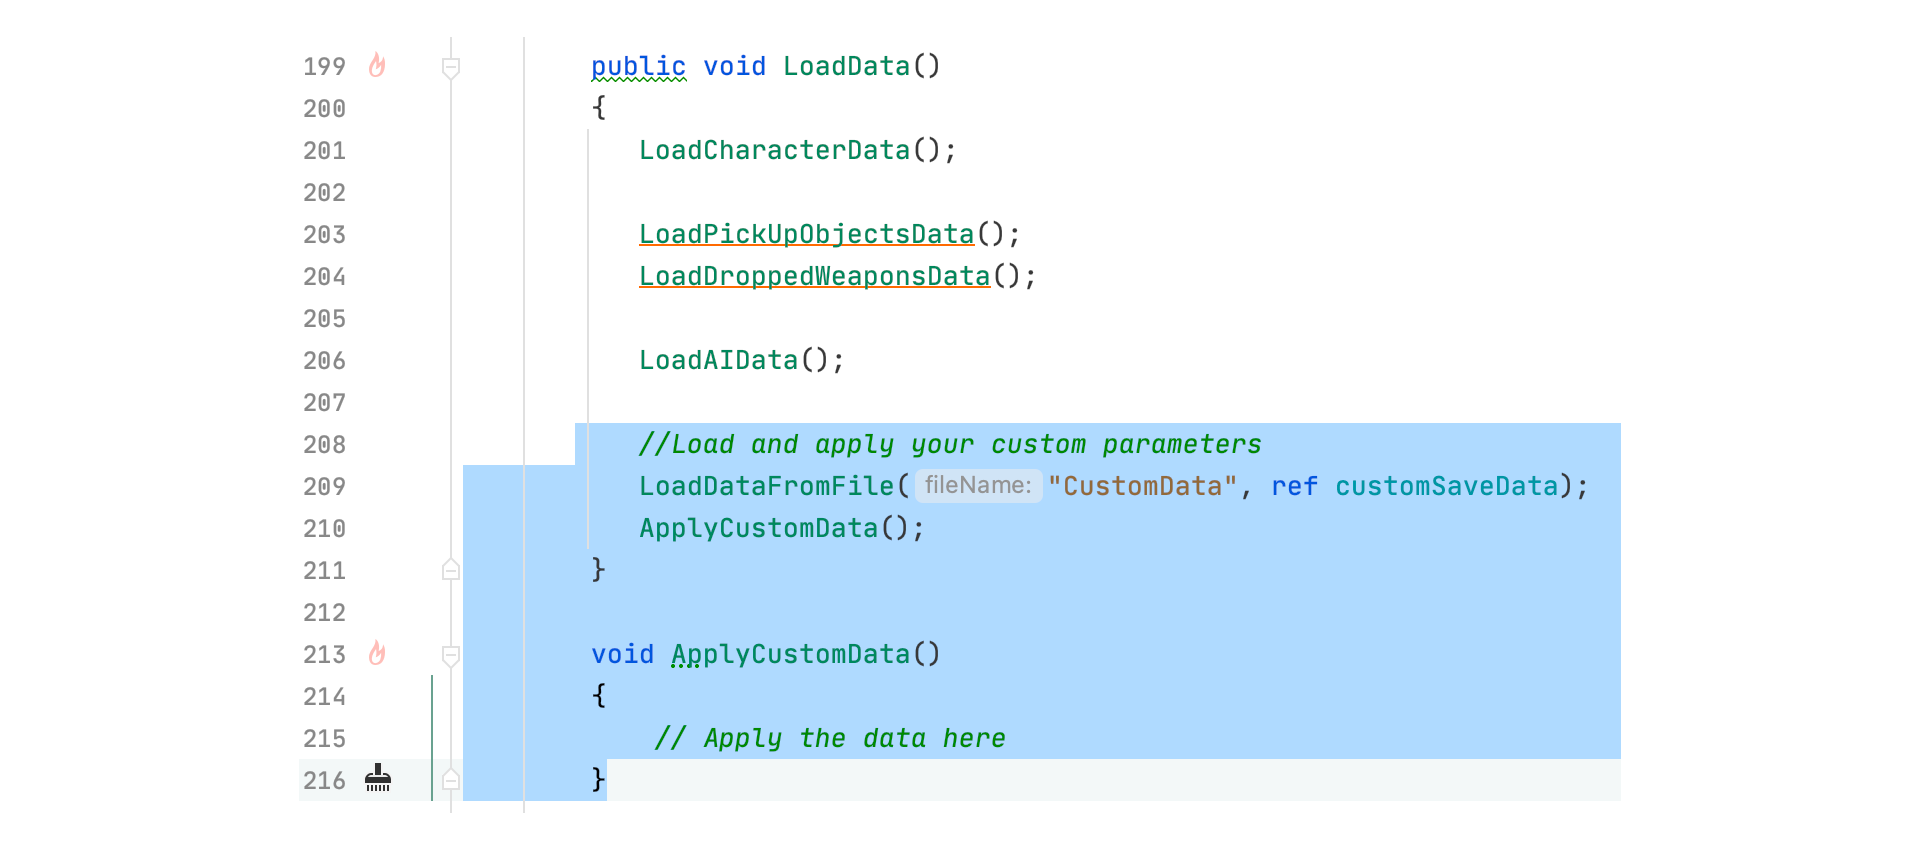
If you need to save some other parameters, use the prepared **CustomData** class in the **SaveManager** script.
{% hint style="info" %}
You can only save serializable variables - [Unity Docs](https://docs.unity3d.com/Manual/script-Serialization.html#SerializationRules).
{% endhint %}
Also, you need to apply the loaded parameters after loading the save files.
### Easy Save Integration
By default, all data is saved to JSON files without encryption. If you want to expand these features, then activate an integration with the Easy Save system.
{% content-ref url="/pages/yWyaUGhZ3sZWdpkVdCDG" %}
[Easy Save 3](/integrations-manager/easy-save-3.md)
{% endcontent-ref %}